Cross-pollinating snowdrops is a captivating journey that opens the door to creating unique varieties or multiplying these enchanting spring blooms.
My own adventure in cross-pollination began in 2019, and it wasn’t until 2023 that I witnessed the first flower from my efforts – just one, but what an exhilarating moment it was! Cross-pollination may not be swift, but the anticipation of a potentially brand-new snowdrop variety is simply enthralling. While my initial attempt may not break any eBay records, it’s been an immensely enjoyable experience. With each passing year, I’ve been fine-tuning my technique, and today, I’m excited to share a detailed, step-by-step guide on how to cross-pollinate snowdrops using the kitchen foil technique. Let’s dive in!
Materials You’ll Need:
- Snowdrop plants with mature flowers.
- Tweezers.
- Pen.
- Kitchen foil.
- White labels.
- String.
- Unused tea bags- preferably Yorkshire tea 😉
Step 1: Choose Your Parent Plants
Begin by selecting two snowdrop plants you want to cross-pollinate. Opt for plants with different traits or varieties to combine desirable characteristics in the offspring. Ensure both plants have fully developed flowers. Keep in mind that while some varieties can be crossed, others, like Alburgh claw, might be sterile. Don’t be discouraged; experimentation can still be rewarding!
Step 2: Perfect Timing
For successful cross-pollination, aim for a time when snowdrop flowers are in full bloom, typically in late winter or early spring, depending on your location.
Step 3: Prepare Your Workspace
Gather your tools and find a clean area, especially if you’re bringing snowdrops inside from pots for pollination.
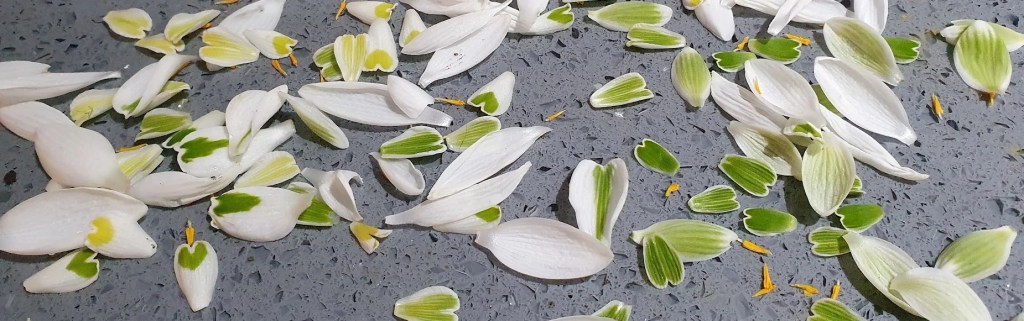
Step 4: Prepare the Female Flower for Pollination
Locate the flower on the first parent plant intended as the female parent. Use tweezers to carefully remove the petals and stamens (male parts) while preserving the stigma at the flower’s center.
Step 5: Prepare the Male Flower for Pollination
Take a small piece of kitchen foil and fashion it into a V-shaped channel. Place it beneath the male flower, then gently tap a pen, tweezers, or your finger on top of the flower. Collect the pollen that falls into the foil channel.
Step 6: Pollinate the Female Flower
Move to the female flower and gently draw the stigma through the collected pollen. You’ll notice a bright orange appearance at the stigma’s tip, indicating successful pollination.
Step 7: Label the Cross
Securely label the envelope or bag with the names or codes of both parent plants, and remember to note the date of pollination. If you’re working on multiple crosses within the same clump, consider loosely tying string around the stem base of the flowers and attaching a label for differentiation.
Step 8: Keep an Eye on the Seed Pod
Continuously monitor the developing seed pods, with the hope that they will begin to swell.
Step 9: Protect from Ants
Ants are avid fans of snowdrop seeds, so safeguard your hard work from these tiny opportunists. Cut a corner from an unused tea bag, creating a hole of about 2cm. Discard the tea (apologies for the waste). Open the corner and thread the swollen seed pod into the tea bag. Tape up the corner while the pod remains attached to the plant.
Step 10: Collect and Plant Seeds
When the seed pods mature and begin to split open, collect the seeds and plant them immediately, usually in late May or June. Snowdrop seeds require a period of cold stratification before germination. You can plant them directly in the ground or in pots with well-draining potting mix.
Step 11: Nurture Seedlings
Water your seedlings regularly and provide them with proper care until they mature into blooming snowdrop plants. Patience is key, as it may take a few years for the snowdrop seedlings to reveal their beauty.
Remember, because of geneticsnot all crosses will yield perfect results, but that’s all part of the exciting journey of snowdrop cross-pollination. Happy gardening and happy experimenting!
